We love how a good STEM toy can flip a light switch in a kid’s mind. We have also learned the hard way that blinking lights and big claims do not guarantee safe or joyful play. This guide is our hub for choosing STEM toys that fit your child’s readiness, your home, and your tech.
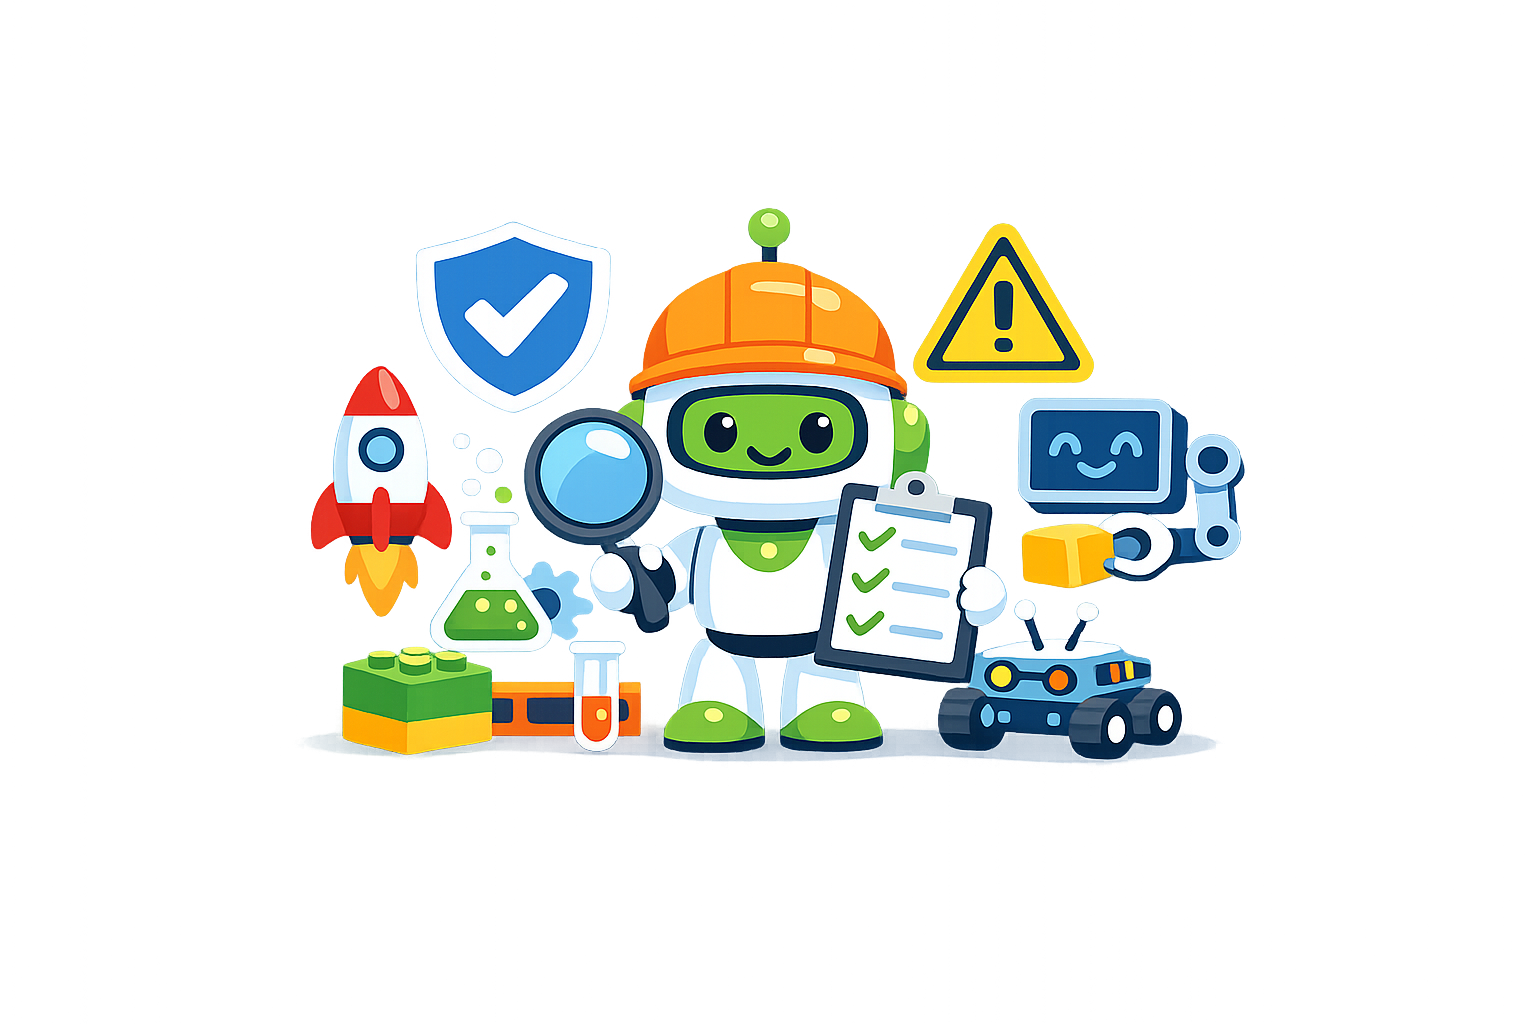
Great picks balance curiosity with care. Before we fall in love with a kit, we scan five things. Safety certifications on the box. Magnet type and size. Power and charging setup. Data and connectivity needs. Instruction quality and how the toy grows with the child. Those five checks save money and meltdowns.
Age stickers help, but they are blunt tools. We look for readiness cues instead. Can they follow two-step directions. Do they tolerate waiting between build steps. Are they still mouthing objects. Can they pinch and rotate small parts without pain. That picture of the child in your house matters more than the number on the label.
There are real gotchas. Some connected toys stop working when an app is discontinued or when a tablet updates to a new OS. Mixed-age homes make tiny magnets or pea-size batteries risky. Kits with consumables can stall when refills run out. Rural Wi-Fi or school-managed tablets may block Bluetooth. We plan around those edges up front.
Do this first. Grab a note on your phone and jot three lines. Your child’s current obsession. One skill they are ready to stretch. The devices and space you can dedicate, including your phone or tablet OS version and a quick look at your Wi-Fi strength where play will happen. That list will steer the rest of your choices.
Start With Readiness, Not Just the Age Tag
Toddlers and early movers
At this stage we want big, easy-to-grab parts and obvious cause and effect. Snap, drop, tilt, light. Look for pieces larger than a film canister. Choose toys that tolerate throwing and chewing, with no loose magnets. Favor short play loops and visual rewards. One adult nearby is ideal. Red flag if parts fit through a toilet paper tube.
Preschool to early readers
Now we can add simple sequences. One, two, three steps with a picture guide. Gears, ramps, chunky circuits, or coding cards with arrows work well. We still avoid tiny screws and coin batteries that require a tool to open. We watch frustration. If they yank pieces apart when stuck, pick systems that click together with less force and provide quick wins in under ten minutes.
Grades 1 to 5 explorers
Hands are steadier and attention stretches. We can try small bricks, breadboards with snap leads, beginner robotics with large connectors, and guided experiments with safe reagents. We look for clear reset points. Build a rover chassis this afternoon. Add a sensor tomorrow. We also match reading level. If the manual is dense, we find kits with video instructions or step-by-steps that show each hand movement.
Tweens and teens builders
Now we can lean into real tools and deeper logic. Soldering with supervision, coding in block or text, 3D design, and modular systems that scale. We check for spare parts, firmware updates, and community support. Privacy begins to matter. We favor kits that run offline or let us set permissions. We also weigh ambition against calendar time. A 20-hour build is a joy in summer and a burden in exam week.
When to pause or adapt
Mouthing is still frequent. Pause anything with magnets, button cells, or marble-size parts. Strong odors from plastics or solvents. Ventilate or skip. A toy needs a specific app that has not been updated in a year. Avoid lock-in. Repeated rage when builds fail at step two. Add scaffolds like pre-sorted parts, starter builds, or a simpler system. Noise or flashing lights trigger headaches. Choose quiet, tactile sets and let them opt out of sound.
Our Reader-First Framework for Picking STEM Toys
Match interests to outcomes
We start with what they already notice. Bugs under rocks. Trains. Music. Then we map that interest to a learning outcome. Patterning, measurement, circuits, logic, or modeling. A good toy makes a bridge between the two. We prefer sets that show progress. Today a basic loop. Next week sensors. Next month a challenge that uses the same parts in a new way.
Build time versus play time
Every STEM toy has a ratio. Minutes to build and minutes of replay. We think about the child’s patience and the family schedule. Weekend builders enjoy long sessions with complex steps. Weeknight players do better with quick assemblies and strong replay. We aim for a first win in 15 to 30 minutes unless the child craves marathon builds.
Practical fit at home
Space, storage, and cleanup can make or break a toy. Is there a flat surface that can stay reserved for a week. Will parts vanish in carpet. How loud is the motor. Do we need eye protection or a mat. We also check consumables and spare parts. If the kit uses paper circuits, we plan for extra tape. If it uses filaments or inks, we confirm where to get more and how to store them safely.
Tech and privacy basics
Connected toys are powerful, but only when they actually connect. We confirm device compatibility and version support. iOS or Android, Bluetooth or Wi-Fi, and whether an offline mode exists. We look for a clear data policy, a kid or classroom mode, and a way to factory reset. Parental controls and a simple account flow are a plus. If a toy needs constant internet, we test it in the room where it will live.
Safety at a glance
We scan for recognized standards and clear labels. We read the magnet warning. We check that battery doors close with a screw and that chargers are certified. We look for sturdy housings that do not crack under mild pressure. We avoid sharp edges, exposed heating elements, and kits that smell like solvents right out of the box. If the manual shows a lab coat and goggles, we treat it like a mini lab and store it as such.
FAQ
Setup and use
Q: What is a safe first session plan for a new STEM kit?
A:
- Do a 5 minute parts check and read the safety page aloud.
- Set simple rules: eye protection on, no food near tools, ask before plugging in.
- Start with a 10 to 15 minute mini build or one experiment.
- Pause for a quick reflection: what worked, what was hard, what to try next.
- End with cleanup and battery or chemical storage.
Safety and privacy
Q: How can I quickly verify safety before I buy?
A:
- Check for age grading and small parts warnings.
- Look for compliance marks like ASTM F963 and CPSIA, or EN71 and CE in many regions.
- Prefer enclosed batteries or screwed battery doors. Avoid coin cells if there are toddlers around.
- Scan reviews for choking reports, magnet strength issues, or overheating.
Q: Are connected STEM toys safe for my child’s data?
A:
- Use offline mode when possible. If online is needed, create a child profile.
- Deny location, contacts, and microphone by default. Enable only what the app needs to function.
- Update firmware and apps before first use. Change default passwords.
- Review how to export and delete data. Turn off cloud uploads you do not need.
Buying decisions
Q: On a tight budget, what brings the most value?
A:
- Choose open ended kits that can be rebuilt in many ways.
- Favor projects that use common refills or household materials.
- Watch ongoing costs like batteries, filaments, or chemicals.
- Check for clear manuals and free community lessons so you get more mileage.
We covered a lot of ground together. The big idea is simple. Start with your child’s readiness, not the age sticker. Then run a quick safety scan before you buy. Finally, check the fit with your home, your tech, and your child’s interests.
When we do that, we avoid the common pitfalls. We sidestep toys that frustrate, kits that collect dust, and connected gadgets that overreach on data. We end up with projects that feel doable and spark real curiosity.
Here is a fast decision recap you can keep in your back pocket:
- If your child loves stories and pretend play, begin with themed builds and guided challenges.
- If your child loves to tinker, choose open-ended kits with many reconfigurations and spare parts.
- If focus is a struggle, pick short builds with big payoffs and avoid long calibration steps.
- If you have little siblings or pets, skip tiny magnets, button cells, and fragile glass.
- If screens already dominate, choose screen-optional toys that can grow into coding later.
Quick action plan for your next purchase:
- Name the skill you want to grow this month, like sequencing, measurement, or spatial reasoning.
- Pick the build profile that fits your child today, either quick wins or deep builds.
- Run the safety scan for age, labels, magnets, batteries, and cords.
- Check your home setup for power, table space, storage, and ventilation if applicable.
- Preview the app privacy and offline mode if the toy connects.
- Plan your adult role for session one, like co-build, observe, or troubleshoot.
Quick Answers Before You Click Buy
How do we judge readiness for small parts, tools, or heat?
Look for three cues. First, can your child stop and ask for help when stuck. Second, can they follow 3 to 5 steps without wandering. Third, do they clean up after a build without a battle. If any of these are shaky, hold off on soldering irons, cutting tools, glass, or tiny magnets. Start with snap-fit systems, large bricks, or low-heat crafting. Revisit advanced kits after a few weeks of scaffolded practice.
Edge case: if your child is a careful rule follower but has motor challenges, pick kits with larger connectors and non-rolling parts. Add grips, tweezers, or a bench mat for control.
Are connected STEM toys and apps worth it, and are they safe?
They can be great for feedback and new challenges. They are not essential for early stages. If you do choose one, check that the toy works offline for basic play, has a child account with limited data, and lets you export or delete data. Turn off location sharing. Use your own family email, not your child’s school email, for sign-ups. Update firmware on a parent device, then disable background permissions you do not need.
Edge case: shared tablets at school or clubs may auto-sync data. Use guest mode or a separate profile when possible.
What if our child loses interest after a week?
Rotate how you frame the toy. Offer a story prompt, a timed build, or a remix challenge like build the tallest stable tower with only half the pieces. Invite a friend or sibling for a co-build. If nothing lands, pack it away for two weeks. Novelty on return is real. Last resort, salvage useful parts for open-ended making and let go of the rest without guilt.
How do we balance open-ended exploration with instructions?
Use a 70 and 30 split. Start with a clear win from the manual for confidence. Then switch to free build or challenge cards. For kids who resist manuals, set a mini goal like build Step 1 to 5, then try your own twist. Celebrate both paths, but always land on one durable success before cleanup.
Which labels matter most at a glance?
Look for age grading that fits your home, not just your child. Check for small parts warnings and magnet or battery notices. In many regions you should see safety marks that indicate toy compliance, and for electronics, marks that indicate electrical safety and radio compliance. For chemistry, look for clear hazard pictograms and disposal guidance. If labels are vague or missing, skip it.
Print and Go: Checklists and Flows
60‑Second Safety Scan
- Age and household fit: any under-threes or pets in reach.
- Small parts and magnets: avoid if mixed-age home or if you cannot supervise.
- Batteries: avoid loose button cells; prefer secured compartments with a screw.
- Power and heat: confirm low voltage, stable base, and heat guards.
- Materials: no crumbly foam with toddlers; watch for brittle plastics.
- Chemistry and printing: require goggles, gloves, and ventilation plan.
- App and camera: works offline, child account control, and data deletion path.
Readiness Flow at a Glance
- Curiosity active but short attention: pick fast feedback builds, no calibration, visible cause and effect.
- Loves method and detail: pick modular kits with multi-day builds and clear part labeling.
- Sensory sensitive: choose quiet kits with soft-touch pieces, no flashing lights, and predictable textures.
- Seeker of movement: pick builds with ramps, launchers, or coding that moves, plus floor space.
- Struggles with frustration: choose magnetic or click-in systems that forgive errors, and keep sessions under 20 minutes.
If you are torn between two kits, choose the one with fewer setup steps and clearer first win. You can always level up. It is harder to rescue a stalled first experience.
Setup and Support Plan for Day One
- Unbox and sort parts into labeled trays or bags before inviting your child.
- Test batteries, firmware, or app pairing yourself.
- Set a small goal, like make the light blink or drive one meter straight.
- Decide your role: coach for the first 10 minutes, then step back.
- End with a photo or mini demo to mark success and boost recall.
Connected Toy Privacy Sprint
- Create a family tech login just for toys.
- Disable contacts, location, and microphone unless required for core play.
- Set content filters and turn off auto-post or share features.
- Check update settings to manual, then schedule a monthly check.
- Add a reminder to export or delete data at project end.
When To Pivot
- Three sessions in a row end in tears or shutdown: drop difficulty and shorten time.
- Repeated stuck points on the same step: swap the tool or material, not the child.
- Toy becomes background clutter: repurpose parts into a fresh build challenge or donate to a makerspace.
You do not need a perfect setup to raise a curious maker. You only need a good match for today, a clear first win, and safe boundaries. Start small, scan for safety, and build the habit of finishing. The skills stack up faster than we think, and the confidence sticks even faster.
Leave a Comment